The Definitive Jetson Nano Plex Guide
// 19 Mar 2024
Some Background
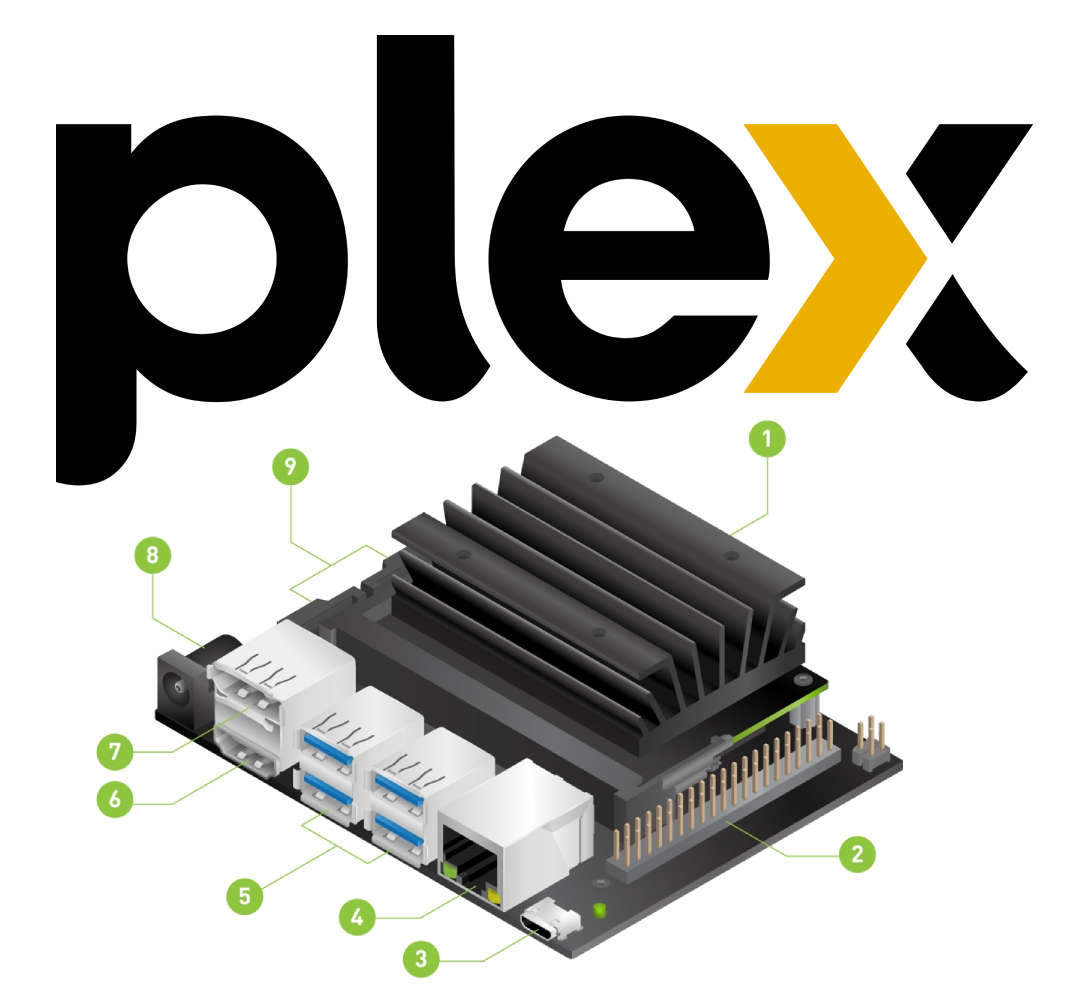
A while ago (more than a month to be more exact), I said I was working on a Jetson Nano Plex server. If you don’t know what a Jetson Nano is, it’s basically Nvidia’s go at a Raspberry Pi clone, but of course, they threw a GPU in it, so it’s better than Raspberry Pis at video transcoding and AI acceleration. For some reason, they stopped production on the carrier board, which is what makes is usable for most non-embedded applications. The carrier board adds USB3.0 ports, video output, and 2 ports for power, and an M.2 slot (which will come in handy later).
Ubuntu Woes
I originally wanted to use the pre-built Ubuntu image Nvidia provides, which comes with the Jetpack SDK (used for developing GPU-specific applications), so it has the custom kernel with propreitary drivers for the GPU (which is a Tegra-X1), and TensorFlow libraries that were specifically built with CUDA support for the GPU. Unfortunately, the version of Ubuntu they provide is based on 18.04 Bionic Beaver, which is an LTS version, but I had so much trouble getting it to work, mainly because some of the libraries required for things to work were way too old, like libc. Libc was a really big problem. So, I switched to Armbian.
Armbian to the Rescue!
Armbian is an open-source version of debian made for ARM-based devices. There’s community support for the Jetson Nano, but strangely, the latest Bookworm image simply didn’t work. I could not get it to boot at all whatsoever. So, I got the next latest working image, the Bullseye one, and ran through the Bullseye->Bookworm upgrade process. That worked pretty well, but I couldn’t upgrade the kernel because it wouldn’t build properly, but that’s fine, I didn’t really need the latest kernel for something like this. The only problem I had with Armbian is that no matter what I do, it never recognized the thermal zones, so I was never able to measure the temps. And, Plex doesn’t recognize the Nvidia GPU, so it’s not actually used for the transcoding. Yes that defeats the whole purpose of using a Jetson over a Pi, but I was already too deep into the project to turn back.
With Armbian working (mostly), I installed Plex through the normal linux install process with the APT repository, and it was a breeze. Then when it came to storage, I got a WD Black 2TB NVMe, and plugged it into one of the USB3.0 ports with a USB-C enclosure. It didn’t even occur to me that I could’ve just bought a different form factor and used the M.2 slot on the board, which also probably would’ve been faster. But, it was too late for that, I had already bought it.
My Conclusions
And, that’s basically it! That is the entire process I went through to get a Plex media server running on my jetson nano. It took a ridiculous amount of time to get it working, as anything does on one of those infernal little computers. But I did learn a lot about how Plex works and some more about the internal workings of Linux and the kernel. If you want to learn how to troubleshoot a project, I strongly recommend you try to do something like this. If not, maybe just follow another guide on a Raspberry Pi or an equivalent something.
If buying isn’t owning, pirating isn’t stealing,
